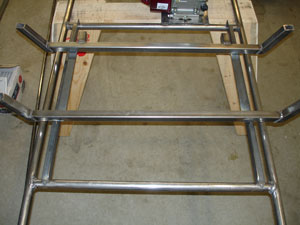
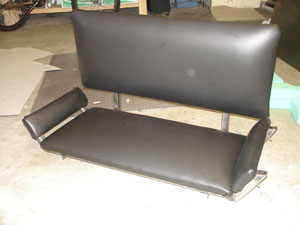
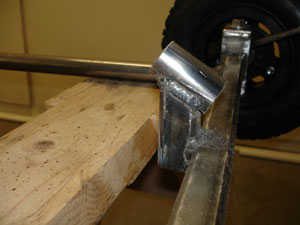
We then started on the frame for the seat.  We used the same 1" square tubing the go kart frame was made from because we didn't have any thin wall material on hand.  We suggest using some lighter weight material because our seat frame ended up being pretty heavy. We also used 1"x1"x1/4" angle iron to create an adjustable sliding seat.


Once you have the seat frame built you need to cut some plywood to fit in place.  Notice the side supports we incorporated into our seat.  You will need this support so you don't slide off the seat.


We used foam and vinyl upholstery to complete our seat.  If you prefer the looks and comfort of a bucket seat, Azusa has a bucket seat kit (Part# 2291).


With the seat ready 
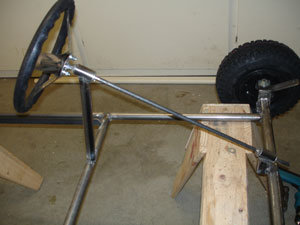
to go, it's time to setup the steering shaft.  After having the driver sit in the seat while holding a steering wheel (Part# 1801 or 1805) in a driving position we determined the location for the steering shaft.  The tubing in this picture, which will support the steering 
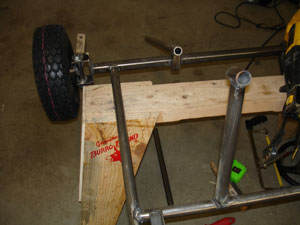
shaft, was welded into place as one long piece.  This ensures the alignment of the bottom shaft support to the top shaft support.  Then we cut away the sections of the shaft support tubing that will not be used.  You can see the bottom support still needs to be trimmed.


This is the bottom steering shaft support after the excess tubing was cut away.

Here we prepare a bushing setup for the top steering shaft support.


For the steering shaft we used a 5/8" steel bar.  We fabricated our own steering wheel hub and welded it to the top of the steering shaft.  Then, we bolt the steering wheel to the hub.  You can save yourself a bunch of time if you buy an Azusa steering shaft and hub assembly (part number 1868-22).


Back ] Up ] Next ]