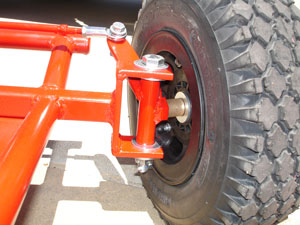
The tie rods have been bolted to the pitman arm.  You can adjust toe in and toe out with these rod ends.  The correct toe for a fun kart is 1/16" toe inward.  Azusa has the rod ends available (part #8244 for right hand threads and 8244-L for left hand threads).


Front right tire mounted on the spindle.

The brake and throttle pedals are now in place.

The seat, engine and rear axle assembly have all been installed.


We fabricated this chain guard from 16ga. sheet metal.  you can avoid the hassle of making a chain guard with Azusa's universal chain deflector (Part# 1810).  The centrifugal clutch  pictured here has been very reliable.  The end of the engine shaft is tapped so don't forget to put a bolt and washer on there to hold the clutch in place.


Once everything is bolted up, double and triple check all of your work.  Make sure all of your welds are solid and all of the nuts and bolts are tight.  For safety purposes you should also make sure you have a kill switch installed (Part# 1721-B).

Make sure you test your brake several times before you ever think of starting the engine.  With safety being top priority, look over your go kart one more time.  If everything checks out, it's time to start it up and go for a test drive.


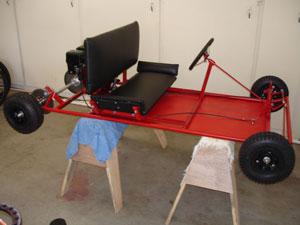
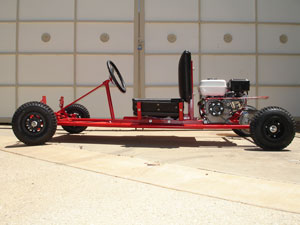
We hope you found our free go kart plans useful.  There are many things we would do different on the next go kart we build, but this should give you an idea of what it will take to put a go kart together.  Check out our other free go kart plans to find more ideas for the do-it-yourself go kart builder.  Also check out www.affordablegokarts.com to find performance parts for the engine we used on this go kart (6.5hp Honda clone).


Back ] Up ]